One of the biggest reasons I hear for why photographers avoid processing their images is that it takes too much time. If you’re spending more than a few minutes to process a single image, you’re probably overdoing it. The tips below will help you cut down on the time you spend post-processing your images. As Adobe Lightroom is the standard and what I use myself, all instruction is specific to Lightroom.
1. ONLY PROCESS YOUR BEST IMAGES
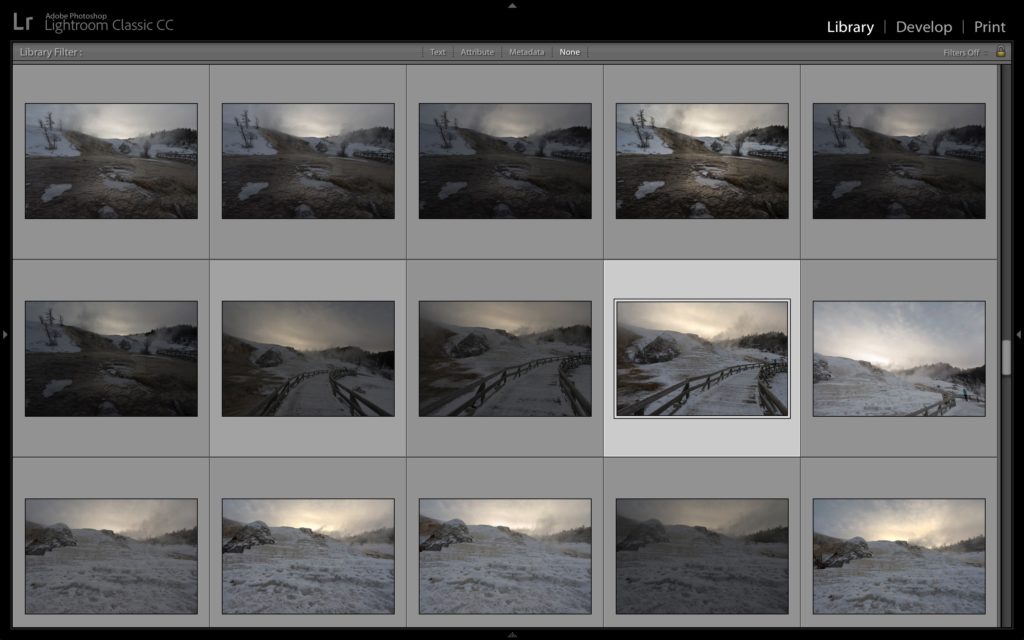
Instead of looking through hundreds of images one by one, I find it much more efficient to look at the images in the grid mode of the Library module in Lightroom. If this isn’t your default view, you can press the “G” key to view the images in a grid. I will scroll through and pick just a few of the best out of a series to start editing in the Develop module.
As you scroll through, you can press the “x” key to mark a photo as rejected or use the “p” key to mark it as a pick.

Eventually you’ll want to go back through and make sure you didn’t miss anything, but this will help you quickly export a few of the best images from a shoot.
A related tip is to cut down on the number of shots you take in the first place. Shooting in burst mode when it’s not necessary does nothing but create more work for you when sorting through photos. Taking a few shots of a moving subject to make sure you get at least one in focus is one thing, but taking dozens of identical photos of a stationary subject doesn’t have any real benefit.
2. EXPERIMENT WITH AUTO
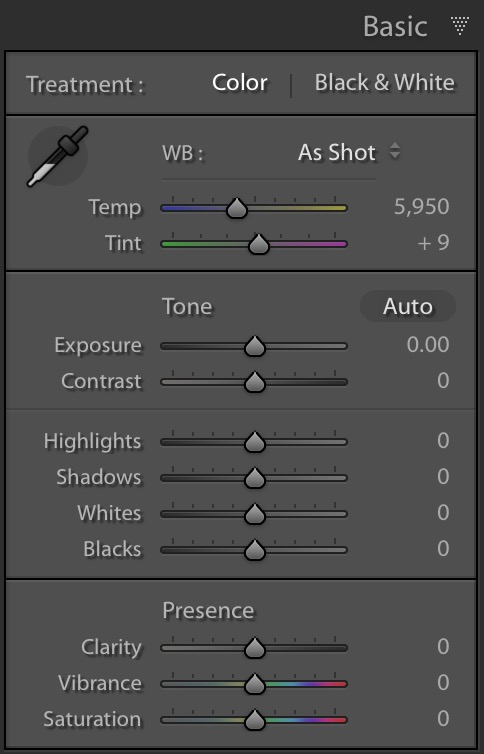
If you’re really pressed for time, you can try out the auto functions in the basic tab of the Develop module. For the basic tone sliders, you can click the “Auto” button to set all the sliders at once, or you can set each slider one by one (shift + double click on the slider name). The auto button will adjust all the sliders in the basic tab except for clarity and white balance.

The latest update to Lightroom adds “artificial intelligence” to the auto functions, so the result may be greatly improved over the previous versions! According to Adobe, the new AI “creates a better photo by analyzing your photo and comparing to tens of thousands of professionally edited photos to create a beautiful, pleasing image.”
The image below was adjusted using only the new auto function. While I typically avoid using anything “auto” it works as a good starting point and a quick adjustment for those trying to save time. Use the slider below to see the changes applied with the “Auto” button. From here, I would make just a few adjustments to reach a final image I like.
[twenty20 img1=”4039″ img2=”4040″ offset=”0.5″]
3. UTILIZE THE HISTOGRAM
The histogram in Lightroom (as well as the back of your camera) is a quick way to see the distribution of values in your image. Often just by looking at the histogram, you’ll be able to tell what you need to adjust.
- If your image is a little dull, look at the histogram to see if it’s extending to the left and right edges. If it’s bunched up in the middle, you may want to add more contrast with the contrast slider. This stretches the center majority of the histogram towards black and white.
- If things are too dark or too bright, you’ll notice the histogram bunched up on one side or the other. You can adjust the exposure slider to brighten or darken.
- If your histogram is spread out, but doesn’t quite reach one of the edges, you can use the black and white sliders to stretch the associated end of the histogram. As you hover over each slider, you’ll see which section of the histogram will be affected most.
You will want most images include a black point and a white point, though there are exceptions. You can automatically set your white and black points by holding shift and double clicking on the slider name. You can also hold the option (alt) key while moving the slider to see which areas are clipping black or white.

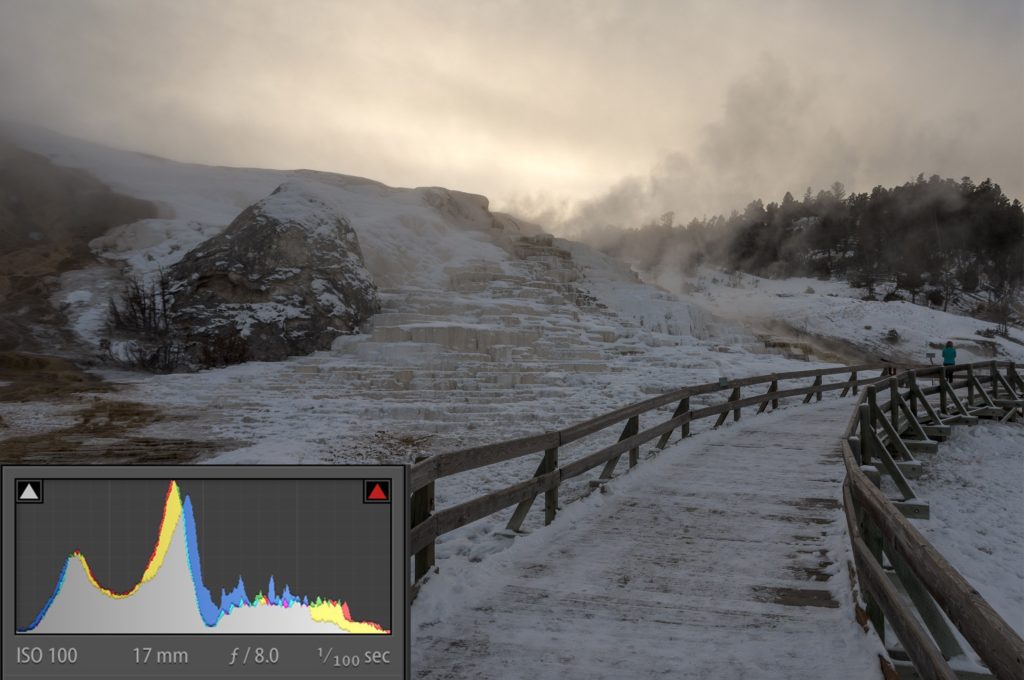
This histogram stretches all the way from black (left) to white (right). The two peaks represent the snow and the darker areas between the snow.

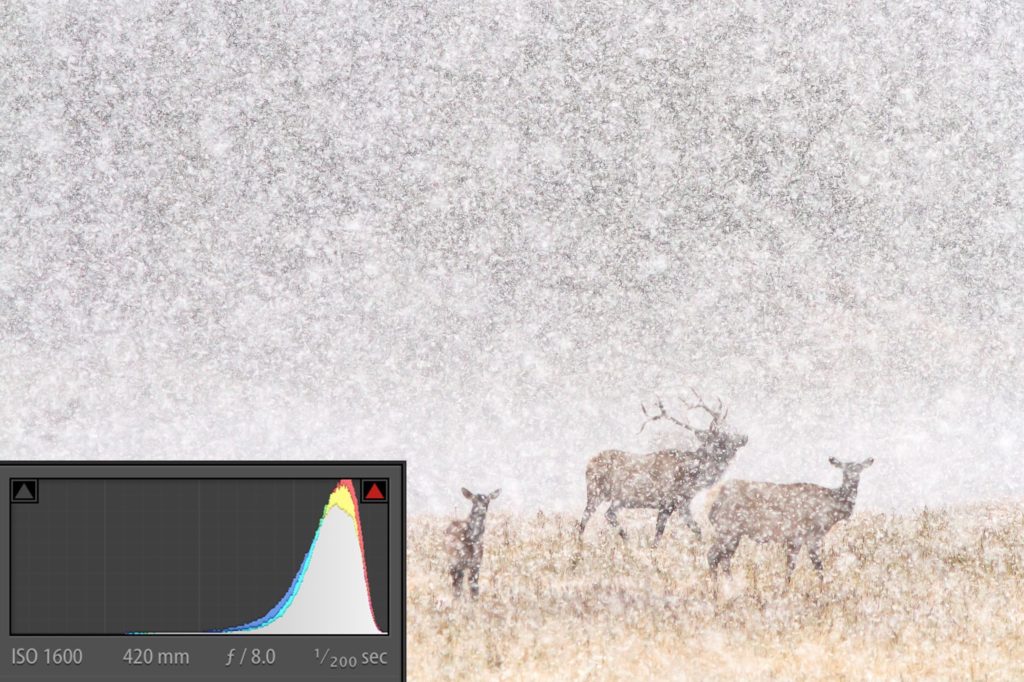
This images touches the white side of the histogram for a small area in the image (snowflakes), but lacks any pure black values.
Post-processing is something that can be a hobby or profession of its own, which makes it understandable why every photographer has a different amount of editing they prefer to do. Some like editing a single photo for hours trying to get it completely perfect, even if it was only average to begin with. Others focus on getting the perfect image in camera, applying only a minimal amount of processing. Some don’t process their images at all (all digital images need at least a little editing). Whichever one is your style, hopefully you won’t have to use time as an excuse anymore!
[text-blocks id=”4129″]

